
Introduction
Spring is a season that bursts with color and creativity, inspiring everyone to shake off the winter blues and embrace the vibrancy of nature’s revival. As flowers bloom and the days grow longer, there’s an undeniable urge to express this renewed spirit in various forms, including nail art. Engaging in DIY nail art not only serves as a fun pastime but also allows you to showcase your personality and artistic flair right at your fingertips. Whether you’re a seasoned nail artist or a curious beginner, experimenting with different styles and techniques can be a delightful journey of self-expression.
In this article, we’ll explore an array of creative spring nail art ideas that you can easily craft at home. From pastel palettes to whimsical designs, you’ll find inspiration that encourages you to transform your nails into miniature canvases. So, gather your supplies, and let’s dive into the world of nail art!
“Creating a cozy reading nook is all about maximizing comfort in a small space. It’s about intentional design that serves both function and feeling.”
– Interior Design Magazine
The Essentials: Tools and Supplies for Nail Art
Before you embark on your nail art adventure, it’s essential to have the right tools and supplies at your disposal. Here’s a list of basic nail art supplies that you’ll need:
- Nail Polish: A variety of colors, particularly in spring hues.
- Nail Brushes: Detail brushes for intricate designs.
- Dotting Tools: Perfect for creating dots and patterns.
- Base and Top Coat: For protecting your nails and enhancing longevity.
When it comes to brands, look for quality products from companies like OPI, Essie, or Sally Hansen. These brands are known for their vibrant colors and durability.
A base coat is crucial as it protects your nails from staining and helps the polish adhere better. Similarly, a top coat seals your design, providing a glossy finish and extending the life of your manicure. For those interested in advanced nail art techniques, optional tools such as stencils and nail tape can help create precise designs and patterns.
Pastel Dreams: The Perfect Spring Color Palette
Spring is synonymous with soft, pastel colors that evoke a sense of calm and freshness. Some trending pastel shades for this season include lavender, mint, peach, and baby blue. These colors not only reflect the beauty of spring but also blend harmoniously together, allowing for a myriad of creative combinations.
When selecting colors, consider pairing complementary pastels. For instance, lavender paired with soft yellow creates a gentle contrast, while mint and peach can create a refreshing look. If you want to experiment further, try creating an ombre effect by blending two or more shades on your nails. This technique involves applying one color at the base and gradually transitioning to another at the tip, creating a stunning gradient.
As for finishes, both matte and glossy options have their charm. A matte finish gives a sophisticated vibe, while glossy nails are vibrant and eye-catching. You can even combine the two by using a matte base coat and a glossy top coat on certain designs for a fun contrast.
Floral Designs: Bringing Nature to Your Nails
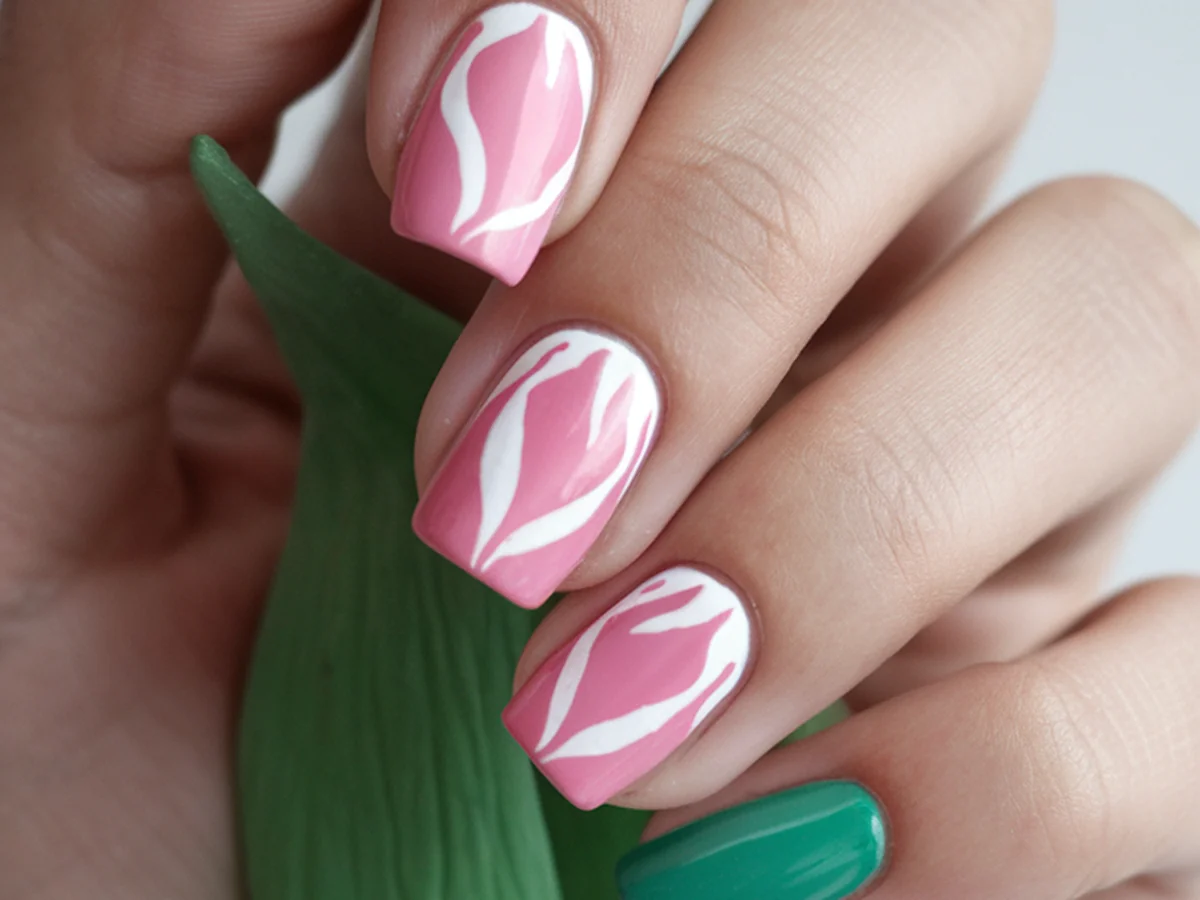
Nothing says spring quite like flowers, and incorporating floral designs into your nail art is a lovely way to celebrate the season. Here’s a step-by-step guide to painting simple flowers like daisies and tulips on your nails:
1. Start with a base coat to protect your nails.
2. Apply a base color; a light pastel works well.
3. Using a thin nail brush or a dotting tool, create the flower petals by making small, curved strokes.
4. Add a dot in the center of each flower to complete them.
5. Finish with a top coat for a glossy shine.
If you’re short on time, nail stickers or decals can provide a quick floral look without the commitment of hand-painting. For a more intricate design, create a floral accent nail by applying multiple flowers on one finger while keeping other nails simpler.
For an added depth of beauty, consider layering your floral designs with different colors. This can create an eye-catching, dimensional effect that truly embodies the essence of spring.
Geometric Patterns: Modern Spring Styles
Geometric patterns have taken the nail art world by storm, offering chic and modern designs that can be both bold and subtle. Popular shapes include triangles, stripes, and diamonds. These designs can be easily achieved by using tape to create clean lines, ensuring that your geometric patterns look polished and professional.
To start, apply a base color and allow it to dry completely. Then, use nail tape to section off parts of your nails where you want to apply different colors. Once taped, paint the exposed areas with your chosen shades, remove the tape while the polish is still wet, and finish with a top coat.
Color blocking is another fun technique that can create a striking look. Choose two or three contrasting colors and apply them in blocks on your nails for a vibrant effect. You can even combine geometric patterns with floral designs for a unique twist, where one nail features geometric shapes while another showcases floral art.
Minimalist Nail Art: Less is More
In a world filled with intricate designs, minimalist nail art stands out with its simplicity and elegance. This trend emphasizes clean lines, negative space, and understated designs that can be just as captivating. Popular minimalist techniques include simple dots or lines, which are easy to achieve and look chic on any nail length.
To create a classic minimalist look, start with a neutral base color, such as soft beige or pale pink. Next, use a thin brush or dotting tool to add simple dots or fine lines. Incorporating metallic elements like gold or silver can elevate your minimalist design, adding a touch of sophistication without overwhelming the overall look.
When choosing colors for minimalist nail art, stick to a monochromatic palette or soft hues that enhance the simplicity. Remember, the goal is to create a chic, understated appearance that speaks volumes through its subtlety.
Nature-Inspired Nail Art: Capture the Outdoors
Spring is a time to reconnect with nature, and what better way to celebrate the season than with nature-inspired nail art? Draw inspiration from the beauty of spring landscapes, incorporating elements such as trees, sun, and clouds into your designs.
To create scenic nail art, consider using sponging techniques. Start by painting your nails with a light blue base for the sky. Then, using a sponge, dab on colors like white for clouds or green for trees, layering them to create depth. For a textured effect, consider mimicking natural elements like sand or leaves. You can achieve this by adding fine glitter for sand or using a textured polish for leaves.
Nature walks can be a great source of inspiration for your designs. Pay attention to the colors, shapes, and patterns around you, and translate those observations into your nail art.
Fun and Whimsical Designs: Playful Spring Themes
Spring is a time for joy and playfulness, making it the perfect season for fun nail art designs. Think of vibrant creations featuring bunnies, butterflies, and rainbows that capture the whimsical spirit of the season. Using bright colors and playful patterns can truly bring your nails to life.
To create a playful bunny design, start with a pastel base color. Then, using a dotting tool and a fine brush, paint the bunny ears and face on your accent nail. For a butterfly design, use a combination of colors to paint the wings, adding dots and lines for detail.
For step-by-step tutorials, consider checking out online resources that provide clear visual instructions. Remember, these seasonal nail designs don’t have to stop at spring; they can easily transition into summer with slight modifications, keeping your nail art fresh and fun all year round.
Nail Art for Special Occasions: Spring Celebrations
Spring is a season filled with celebrations, from weddings to proms and various holidays like Easter and Earth Day. Nail art can be a fantastic way to complement your outfits for these special occasions. For bridal and prom-themed nail art, consider designs that incorporate delicate lace patterns or soft floral accents, which can add a touch of elegance to your overall look.
When matching your nail designs to outfits, think about the colors and styles of your attire. You can create a cohesive look by incorporating similar colors or themes in your nail art. For festive designs, consider adding sparkle or glam elements, such as glitter or rhinestones, to make your nails stand out during celebrations.
Special events call for a little extra flair, so don’t shy away from incorporating bold colors or intricate designs that reflect the festive spirit.
Conclusion
As we embrace the creativity and beauty of spring, your nails can reflect that same joy and vibrancy through art. From floral designs to minimalist styles, there are countless ways to express yourself and celebrate the season. The process of crafting your spring nail art can be therapeutic, allowing you to unwind and enjoy a burst of creativity.
I encourage you to experiment with different styles and techniques, and let your artistic instincts guide you. Share your creations with friends and family, encouraging them to explore their own creativity. After all, the joy of spring nail art is not just in the final result but in the playful journey of creation.
| Element | Small Space Solution | Benefits |
|---|---|---|
| Furniture | Multi-functional pieces | Saves space |
| Storage | Vertical solutions | Maximizes wall space |
| Decor | Minimalist approach | Reduces visual clutter |
Frequently Asked Questions
What are the best nail polish brands for beginners?
For beginners, it’s essential to choose nail polish brands that offer easy application, good coverage, and a wide range of colors. Some recommended brands include Essie, OPI, and Sally Hansen. These brands are known for their user-friendly formulas and vibrant shades. Additionally, they often have affordable options that won’t break the bank, making them perfect for those just starting their nail art journey.
How can I make my nail art last longer?
To ensure your nail art lasts longer, always start with a quality base coat to protect your nails and help the polish adhere better. After applying your nail art, seal it with a top coat for added durability and shine. Avoid exposing your nails to excessive water or harsh chemicals, and consider reapplying top coat every few days to maintain the shine and longevity of your design.
Can I use regular nail polish for nail art?
Yes, you can absolutely use regular nail polish for nail art! While some specialized nail art polishes are available, regular nail polish can work just as well for most designs. Just ensure that the polish is not too thick, as this can make detailed work more challenging. With the right tools, such as brushes and dotting tools, you can achieve stunning designs with regular nail polish.
How do I remove nail art without damaging my nails?
To remove nail art safely, use a quality nail polish remover, preferably one that is acetone-free to minimize damage to your nails. Soak a cotton ball with the remover and press it against your nail for a few seconds before gently wiping it off. For intricate designs or glitter, you might need to wrap your nails in foil with a cotton ball soaked in remover for a few minutes to help break down the polish.
Are there any nail art trends to watch for this spring?
This spring, some exciting nail art trends include pastel ombre designs, bold geometric patterns, and nature-inspired themes. Additionally, minimalist nail art continues to be popular, focusing on subtle designs like negative space and simple dots. Keep an eye on social media platforms and nail art blogs for emerging trends and inspiration, as the world of nail art is always evolving!