
Introduction
Indoor gardening has surged in popularity, becoming a cherished hobby for many as it allows individuals to connect with nature, even in the confines of their homes. The cozy ambiance of fall provides a unique backdrop for cultivating plants, as the changing colors outside remind us of the beauty of nature. This season is not just about cozy sweaters and pumpkin spice; it’s also an ideal time to enhance your indoor garden through propagation. Propagation is the art of creating new plants from existing ones, and it can significantly enrich your indoor space, both visually and botanically. Whether you’re a seasoned plant parent or just starting your journey, this article will guide you through expert propagation strategies that will transform your indoor garden this fall.
“Creating a cozy reading nook is all about maximizing comfort in a small space. It’s about intentional design that serves both function and feeling.”
– Interior Design Magazine
Understanding Plant Propagation
Propagation is the process of creating new plants from a variety of sources, including seeds, cuttings, and divisions. Its significance in indoor gardening cannot be overstated, as it allows for the expansion of your plant collection without having to make a trip to the nursery. There are two primary methods of propagation: sexual and asexual.
Sexual propagation involves the use of seeds, which come from the fertilization of flowers. This method can lead to genetic diversity, but it often requires more time and specific conditions for germination. On the other hand, asexual propagation includes techniques such as cuttings, division, and layering, enabling you to produce genetically identical plants quickly.
The advantages of propagation extend beyond merely increasing plant numbers. It promotes plant health by allowing you to manage and rejuvenate your collection. Additionally, it encourages biodiversity within your indoor space, creating a rich tapestry of plant life. To successfully propagate plants, you’ll need several basic tools and materials, including clean, sharp scissors or pruners, pots with drainage holes, potting soil or a propagation medium, and optional items like rooting hormone and plastic bags or domes to maintain humidity levels.
Choosing the Right Plants for Fall Propagation
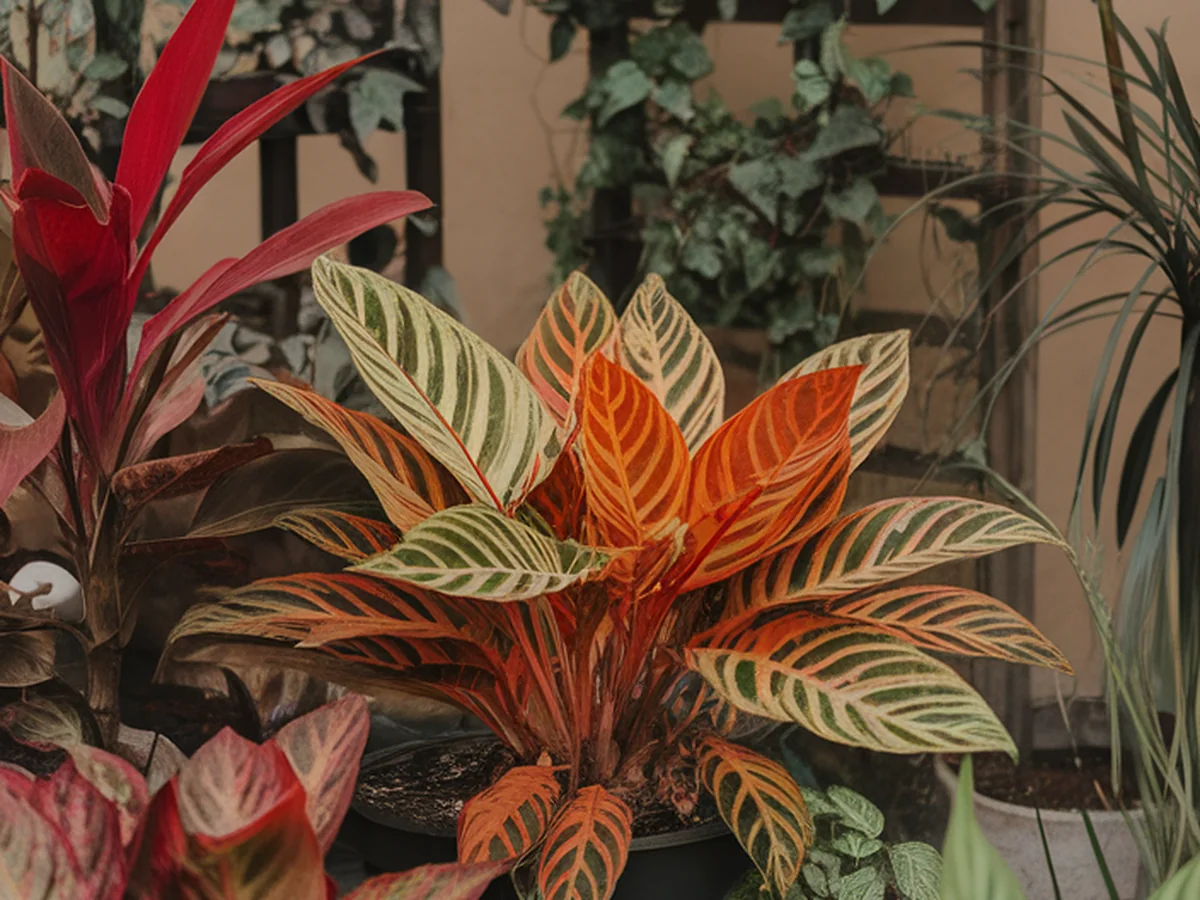
When it comes to propagation in fall, certain indoor plants thrive better than others. Popular candidates include pothos, spider plants, and snake plants, all of which are known for their resilience and ease of care. These plants generally prefer the moderate light and cooler temperatures of fall, making them ideal choices for propagation.
However, it’s vital to consider the specific needs of these plants. For example, pothos can be propagated through cuttings taken just below a node, while spider plants can be propagated from their offshoots, known as plantlets. When selecting parent plants for propagation, always choose healthy specimens that show no signs of disease or pest infestations. Timing is also crucial; make sure your chosen plants are mature enough to support propagation, ideally during their active growing phase.
Essential Propagation Techniques
There are several effective methods for propagating plants, each with its steps and requirements. Here’s a quick overview of some popular techniques:
Cuttings: This method is among the easiest and most common. To propagate through cuttings, follow these steps:
1. Select a healthy stem and cut a 4-6 inch section just below a leaf node.
2. Remove the lower leaves, leaving a few at the top.
3. Place the cutting in water or directly in potting soil.
4. Keep the cutting in a warm, humid environment until roots develop.
Division: Ideal for plants with multiple stems or clumps, division involves separating a plant into smaller sections. Here’s how to do it:
1. Gently remove the plant from its pot and shake off excess soil.
2. Identify natural divisions in the root system.
3. Use clean scissors to separate the sections.
4. Replant each section in its new pot.
Layering: This technique is useful for sprawling plants. Here’s a brief guide:
1. Select a low-growing stem and bend it to the soil.
2. Cover part of the stem with soil, leaving the tip exposed.
3. Once roots develop, cut the new plant from the parent.
Seeds: While it requires patience, propagating from seeds can be rewarding. To start:
1. Choose quality seeds and prepare a seed-starting mix.
2. Sow the seeds according to the package instructions.
3. Maintain consistent moisture and light until seedlings emerge.
For all methods, ideal conditions include bright but indirect light, humidity around 60%, and temperatures between 65°F to 75°F. Be aware of common challenges, such as cuttings not rooting or seedlings damping off, and adjust your care accordingly.
Creating the Perfect Propagation Environment
To ensure successful propagation, creating an optimal environment is crucial. Light plays a significant role; bright, indirect sunlight is the best for most plants. If natural light is insufficient, consider using grow lights to supplement light exposure. Position the light about 12-18 inches above the plants, adjusting as they grow.
Temperature and humidity control are also essential. Most plants thrive in temperatures between 65°F and 75°F, but be mindful of drafts or sudden temperature fluctuations. Humidity can be increased using humidity domes or by placing trays of water near the plants.
Choosing the right soil mix is equally important. A well-draining mix, such as a combination of peat, perlite, and vermiculite, is ideal for most propagation methods. Containers should have drainage holes to prevent waterlogging. Using plastic pots can help retain moisture, while terracotta pots allow for better air circulation.
Nurturing Your Propagation Success
Once your plants are propagated, nurturing them is key to ensuring their ongoing health. Newly propagated plants typically require consistent moisture; however, overwatering is a common mistake. To avoid this, check the soil regularly and water only when the top inch feels dry.
Fertilization is another vital aspect of care. After about four to six weeks, consider starting a diluted, balanced fertilizer regimen to support growth. Be cautious not to over-fertilize, especially in the early stages of development.
Monitoring plant health is essential. Look for signs of stress, such as wilting, yellowed leaves, or stunted growth. These can indicate issues like overwatering, insufficient light, or nutrient deficiencies. Adjusting your care routine based on these observations will help your propagated plants thrive.
Troubleshooting Common Propagation Issues
Propagation can sometimes come with challenges, but being aware of common issues can help you troubleshoot effectively. Wilting can occur due to underwatering or insufficient humidity. To remedy this, ensure your plants are getting enough moisture and humidity.
Yellowing leaves might indicate overwatering or nutrient deficiencies. Assess your watering schedule and consider fertilizing if the plants have been established for a while. Root rot is another concern, typically stemming from poor drainage or overwatering. If this occurs, remove the plant from its pot, trim away any rotten roots, and repot it in fresh soil.
Pest management is crucial, especially for young plants. Common pests like aphids and spider mites can wreak havoc if not addressed early. Regularly inspect your plants and treat infestations with insecticidal soap or neem oil. Remember: gardening is a learning process, and it’s okay to experience setbacks. Adapt your techniques based on what you learn from each experience.
Integrating New Plants into Your Indoor Garden
Once your propagated plants have established roots and growth, it’s time to integrate them into your existing indoor garden. Start by transplanting them into larger pots as needed, ensuring the new containers have adequate drainage. Gently remove the plants from their propagation pots, being careful not to damage the roots, and place them in their new homes with fresh soil.
When introducing new plants, consider their light and humidity requirements in relation to your existing plants. Group plants with similar needs together to create a harmonious environment. Additionally, consider the aesthetic appeal of your arrangement. Mixing plant heights, colors, and textures can create a visually stunning display.
Diversity in your indoor garden is beneficial, promoting healthier plants and a more dynamic ecosystem. As you integrate new additions, think about how they can complement and enhance the overall vibe of your space.
Embracing the Seasonal Shift: Fall Care Tips
As fall arrives, it’s important to adjust your care routines to align with the seasonal changes. With shorter days and cooler temperatures, your watering schedule may need to be altered; many plants require less water during this time. Monitor your plants closely and adjust as necessary.
Light exposure is another factor to consider. As the sunlight diminishes, you may need to reposition your plants or increase the use of grow lights. Embrace the fall theme in your indoor garden by incorporating seasonal decorations, such as ornamental gourds or autumnal colors in your plant pots.
Certain seasonal plants, such as kalanchoe or cyclamen, can complement your indoor environment beautifully during the fall months. Incorporating these seasonal favorites can enhance the cozy atmosphere of your space while celebrating the changes of the season.
Conclusion
In summary, propagation is a powerful tool for transforming your indoor garden, allowing you to expand your collection and enhance the beauty of your home. With the expert strategies outlined in this article, you can embark on a rewarding journey of growing new plants this fall. Experiment with different techniques, learn from your successes and failures, and enjoy the process of nurturing new life. We encourage you to share your propagation stories and connect with the vibrant gardening community out there. Start your propagation journey today and watch your indoor garden flourish!
| Element | Small Space Solution | Benefits |
|---|---|---|
| Furniture | Multi-functional pieces | Saves space |
| Storage | Vertical solutions | Maximizes wall space |
| Decor | Minimalist approach | Reduces visual clutter |
Frequently Asked Questions
What is the best time of year for plant propagation?
The best time for plant propagation can vary depending on the type of plant, but generally, spring and early summer are ideal as plants are in their active growing phase. However, many indoor plants can also be successfully propagated in the fall, especially those that thrive in cooler temperatures.
Can I propagate any indoor plant?
While many indoor plants can be propagated, not all are suitable for every method. Plants like pothos, spider plants, and snake plants are excellent candidates for propagation. Research your specific plant to determine the best propagation method and timing for optimal success.
How do I know if my propagation attempt is successful?
Signs of successful propagation include new growth, roots emerging from the cutting (if propagating in water), or the plant showing signs of vigor and health. If the plant appears to be thriving, it’s a good indication that your propagation was successful.
Can I propagate plants in water instead of soil?
Yes, many plants can successfully be propagated in water. This method allows you to easily see root development. However, once roots are established, it’s essential to transplant the cuttings into soil for long-term growth.
What should I do if my propagated plant starts wilting?
Wilting can be a sign of underwatering, overwatering, or environmental stress. Check the soil moisture and drainage; if it’s too wet, allow the plant to dry out. If it’s too dry, provide water. Adjusting the plant’s environment, such as light and humidity, may also help revive it.